
On the core
We’ve completed eight ponds in the last nine years on our family’s property. Typically a pond is built in July through September. This takes advantage of the dry stretches of late summer and gets things completed before we start a fall of tile and terracing.
There was hardly any dry stretch this summer, and we were slated to build our largest pond to date. We started in late September, with water still running through the project. When we began the dam, we were committed.

The heart of any farm pond is a clay core.
Prior to starting, the pond site was surveyed and staked. The stakes marked the locations of the center of the dam, projected water level, and where the slopes will begin for the dam’s front and back. Work began with black dirt being stripped from the work area and pushed to the backside of the site. You can see that dirt on the left side of the picture above. Normally we would have pushed more, but an existing fence limited us.
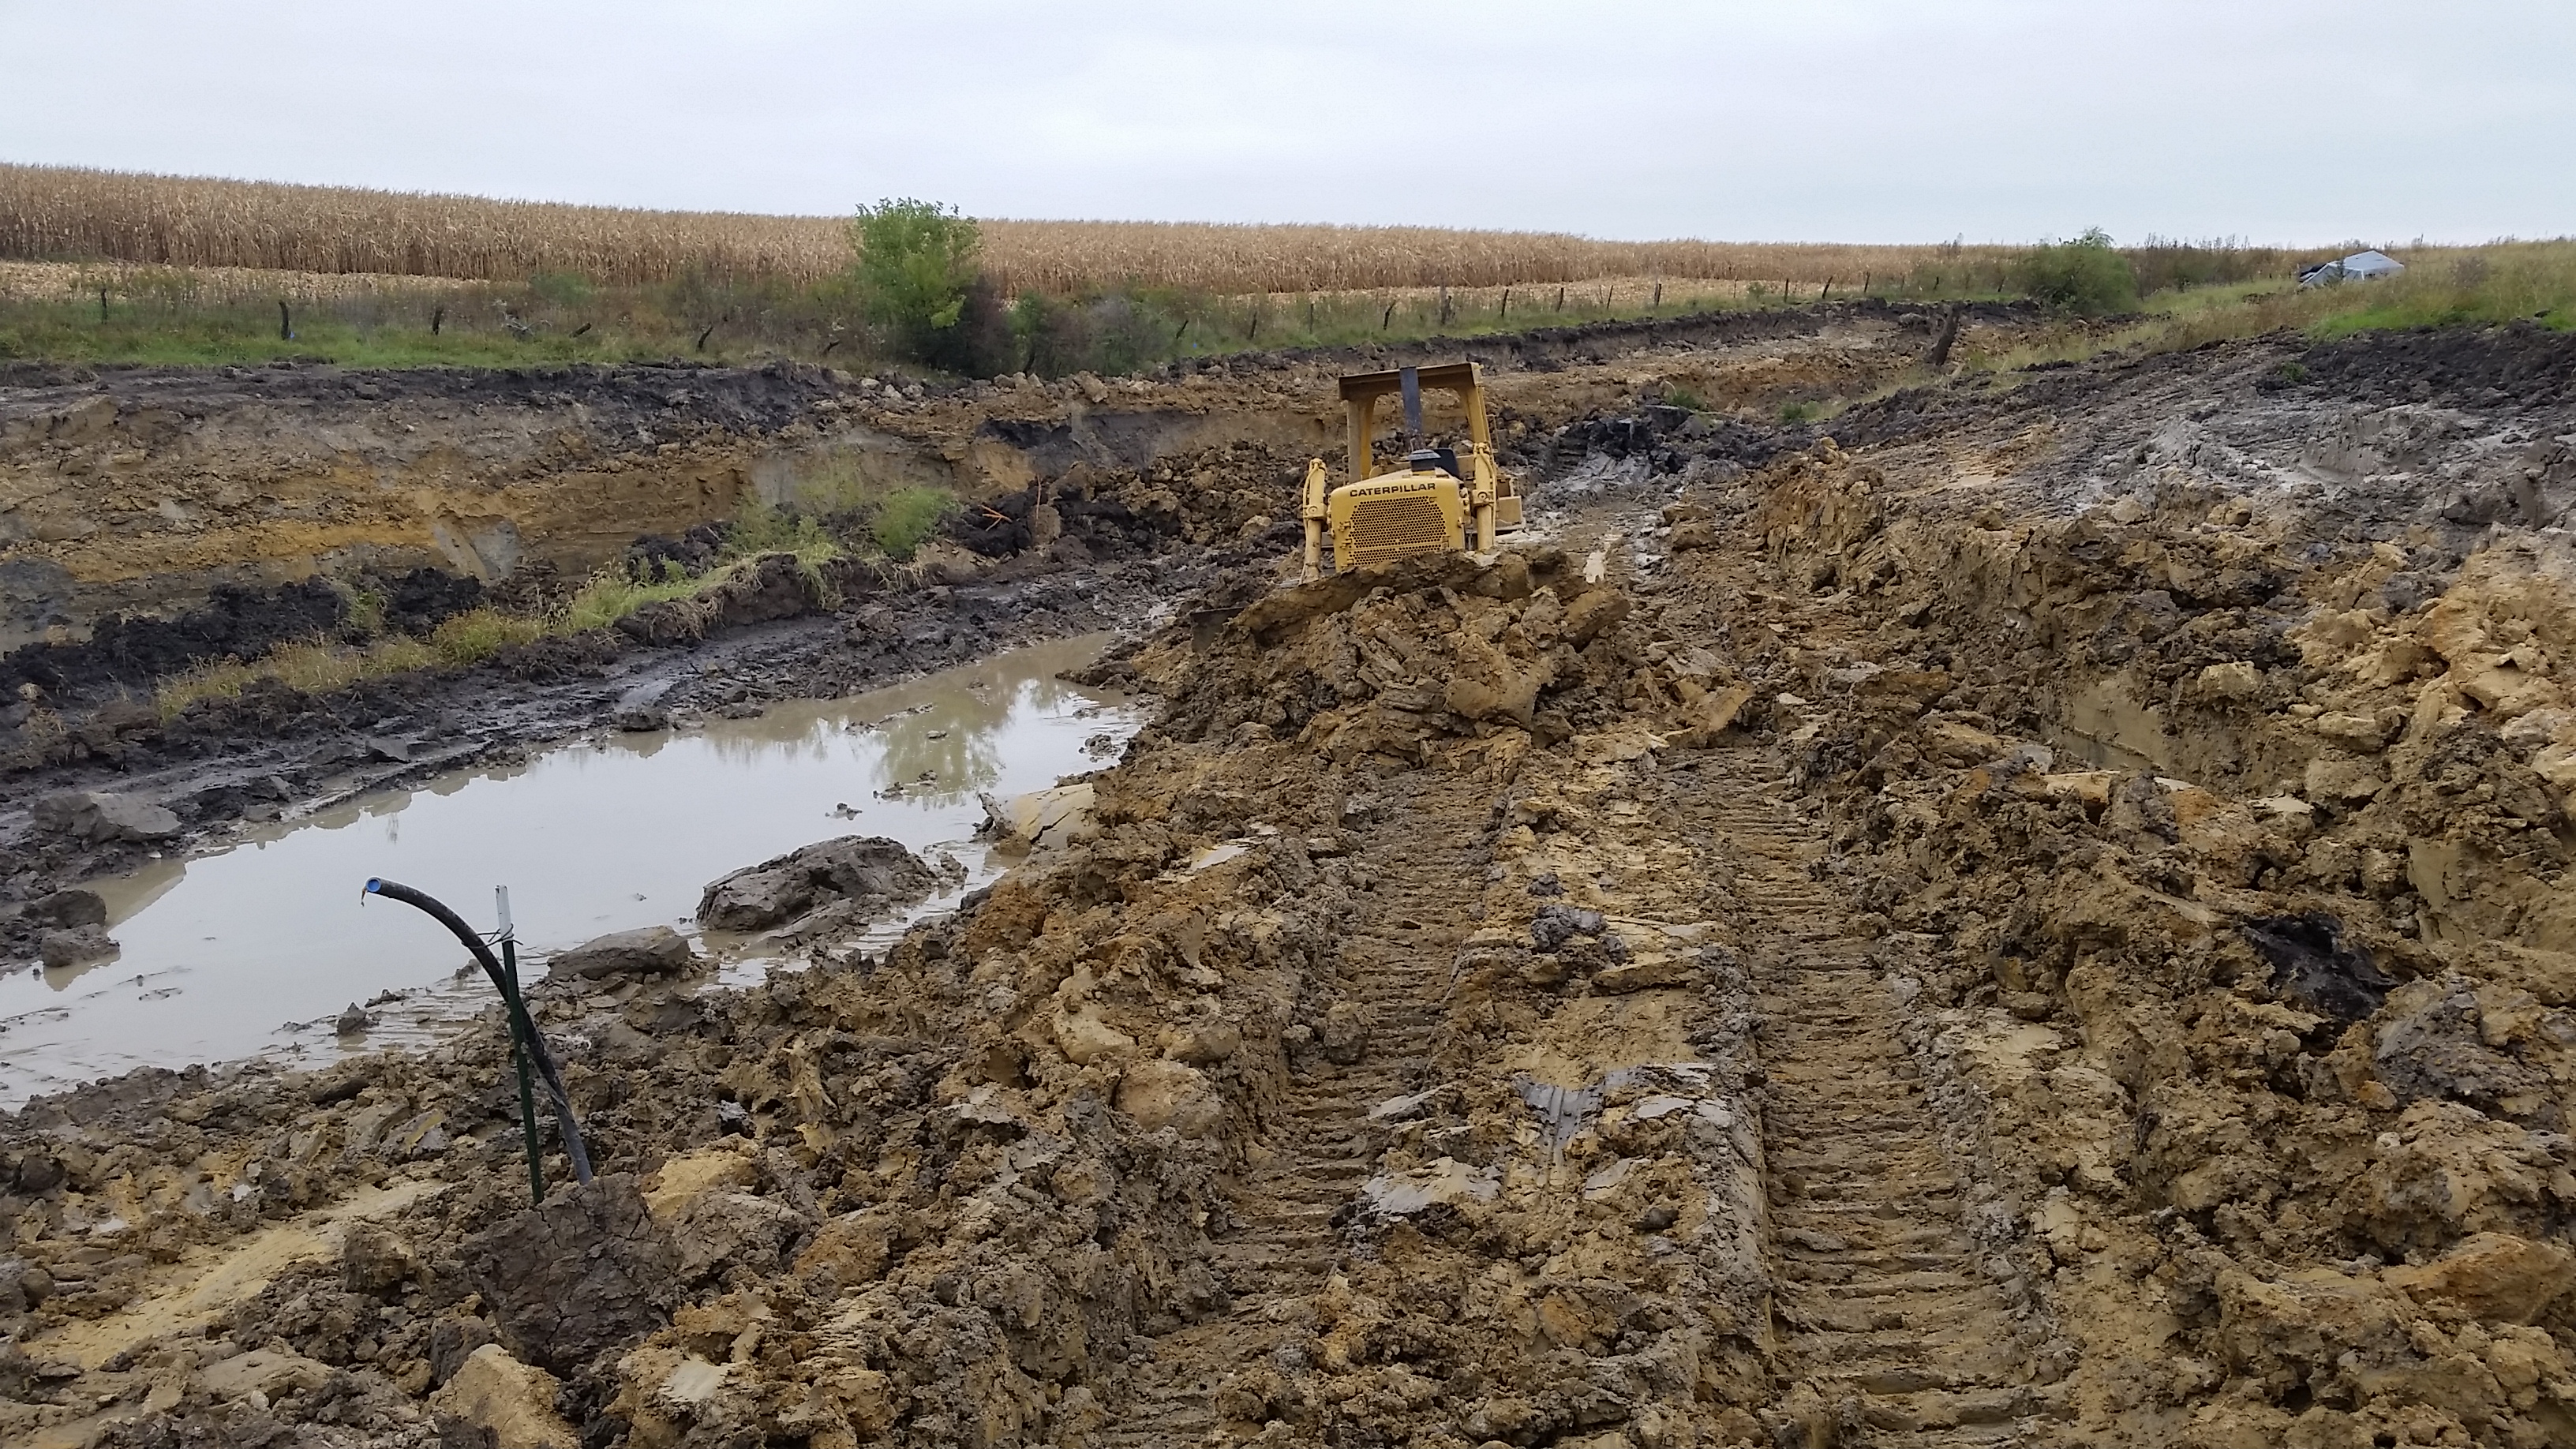
Next we cut a four foot deep trench the width of the dozer blade (about 14 feet) the length of the dam. This trench serves as the starting point for the clay core, which will makes its way up the center of the dam to just above the future water line. The trench notches the bottom of the dam. Should water soak between the dam and the old surface, the notch keeps it from bleeding all the way through and creating a leak. You can see the bright yellow clay of the core in the picture above.

Here you can see the clay we are bringing up to the core.

Black dirt is brought up against the core as we go up. This keeps clay from spilling over, speeding up bringing the core to grade.

Dirt is moved in a groove as much as possible to further speed along the process, keeping dirt from rolling off the side of the blade.

Some grooves are deeper than others.

Sandy clay
Only clay goes into the core. This pond presented a problem. The west side had sandy clay. There was enough sand we weren’t comfortable using it in the core. Such fill could be used on the front side of the dam, and I began making a pile to use there later. I hoped to eventually dig through it. No such luck. We would have to build the core using only the east side of the site.

Abandoning the west side allowed us to try and divert most of the incoming water over there for the time being.

When we got all the eastern clay we could, we punched a hole in the diversion and brought water back into the east side.
The core was high enough to push the remaining sandy clay from the west side onto the front side of the dam, spreading some of it out to dry, and piling the rest for later.

At the topside of the pond we were ready to lay the overflow. The 6″ steel pipe was welded together in 20 foot sections. We set it in place with the excavator and a skidsteer. Around the pipe were welded three four foot squares. These were anti-seep collars and function similar to the notch of the core. If water seeps along the smooth pipe, it hits the collar and can’t continue. I used the excavator to sink the collars down into the core, and then pack clay around the pipe.

As it dried, the pile was spread out on the front side of the dam.
Short of dirt, we moved further east to finish the pond.

Final touches would be put on both the back and front side.

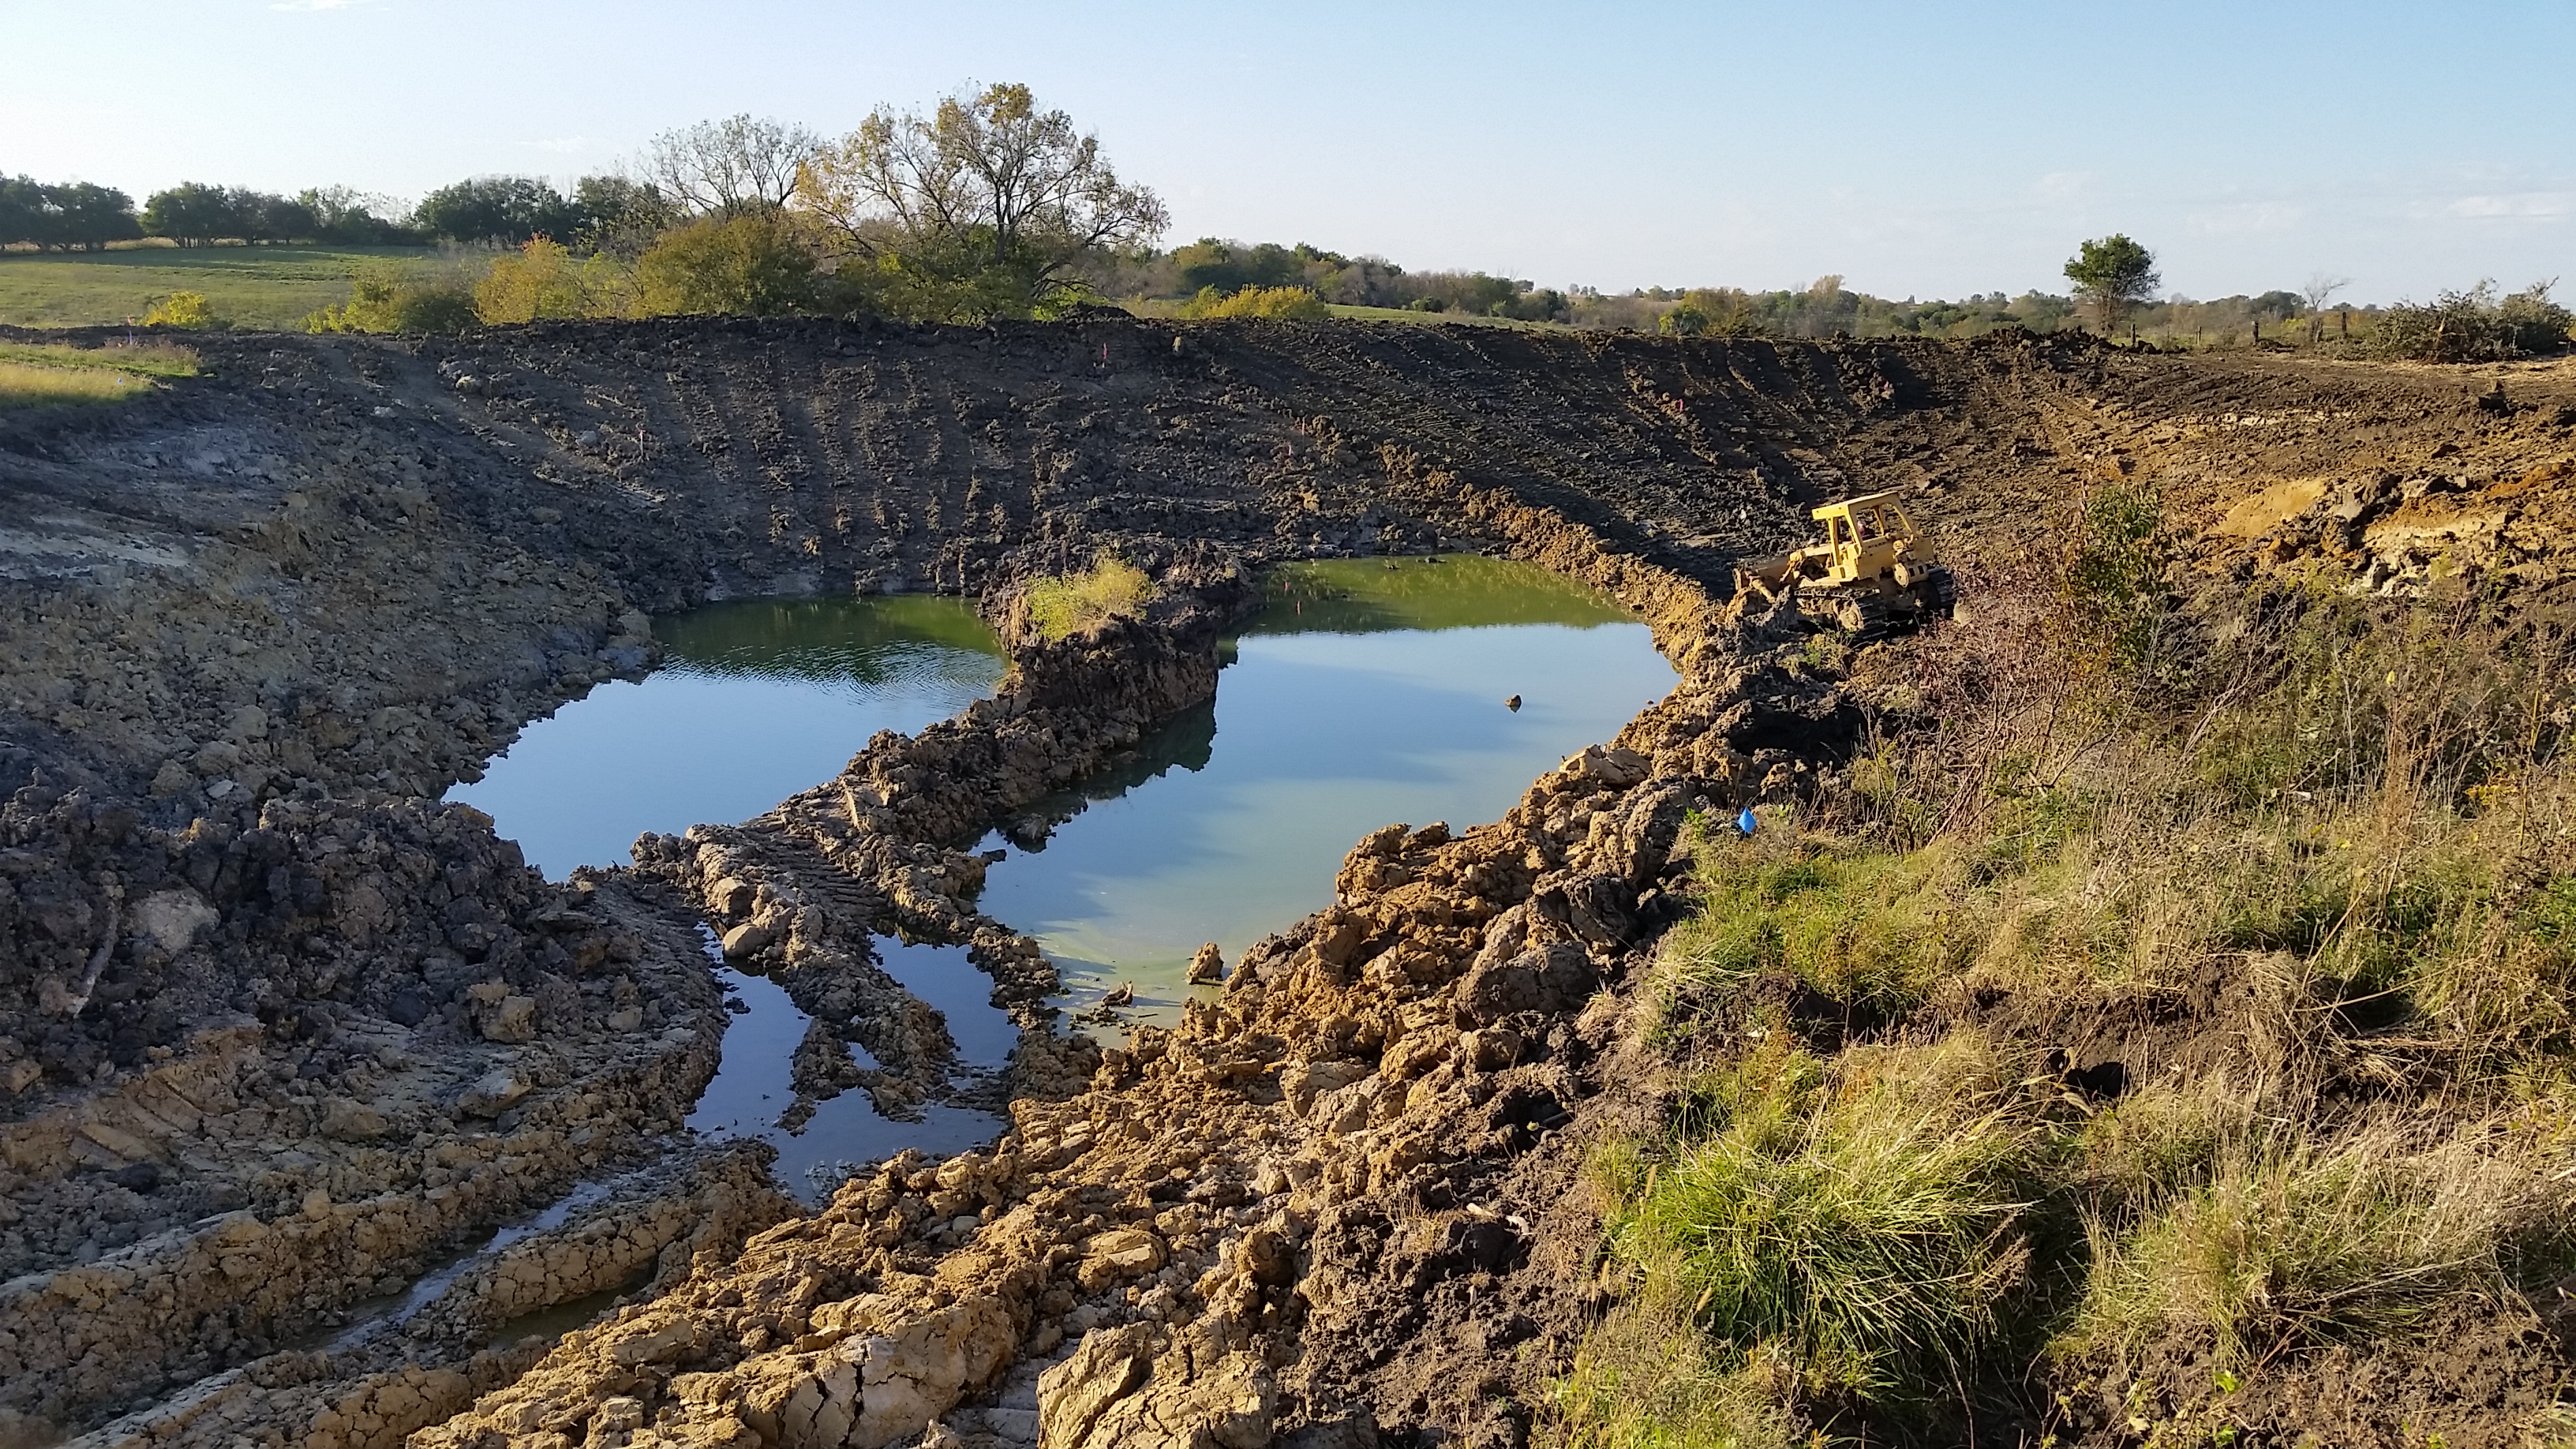
The completed project.
The pond will be able to do what generations before it could not: stabilize a ditch that had cut across a grass pasture. It will function as a filter below 40 some acres, catching whatever sediment the grass and newly completed terraces above it might miss and stop it all from moving further downstream. It will also provide water to further expand a rotational grazing system on the pasture we rent to the north.
